

Aux - Refret Part 3, Finishing
/Home Stretch
Well, here we are everyone. After making our first incision, we've gotten a new, sculpted neck with new frets. Time to make it all worth while!

Your tin snips have nothing on me!
First up is getting rid of those ugly spines sticking out of the neck. A larger, sharper version of the fret pullers mentioned in part one makes quick work of them. This tool is wonderful. Best part is the business end is flush ground so you nip the frets right on the wood and save a lot of leg work later on. I would recommend nipping as you go, seating all the frets for a dramatic image was not my smartest moment.
A little off the top
Next up, leveling the frets. "But Chad," you say. "Didn't you just spend 2 hours sanding the fingerboard flat?" I did indeed, but a flat neck doesn't necessarily mean flat frets. Fretwire is not quite as tightly toleranced as you might believe. To explain, I'll prove I earned my title of 'engineer' and offer a little lesson on fret construction. I don't work for a fret manufacturer so I have to make some educated guesses regarding the exact workflow but it most likely goes something like this:
Two separate processes, rolling and extrusion, are used sequentially to produce fretwire. Bar stock is heated and softened up a bit. Then it's shoved through a roughly 'T' shaped mold. Think one of those old modeling clay squirt guns that form a long churro of brightly colored childhood memories, only hot and sharp. Once a rough- let's call it blank- is extruded it moves to the roller machine, cooling along the way. The rollers compact the blank to give it the rounded top and tang spurs. The rolling process also work hardens the frets so they are less prone to scratching during normal use and resistant to kinking and denting while the 200lb gorillas that go by 'luthier' bend and beat them into place.
The one-two combo results in a whole lot of pretty solid product at the end of the line. Unfortunately, as the wire is pulled along the assembly line small imperfections in the metal, fluctuations in tension used to draw the wire, tooling wear and general misalignment results in slightly off dimensions in the fretwire. To be sure, this is still highly precise machining and very high quality stuff results but it's impractical to sell only 100% perfect wire. Add in the unpredictability of fret seating (slightly crushed wood, glue that set just a little too fast) and the result is inconsistent fret heights.

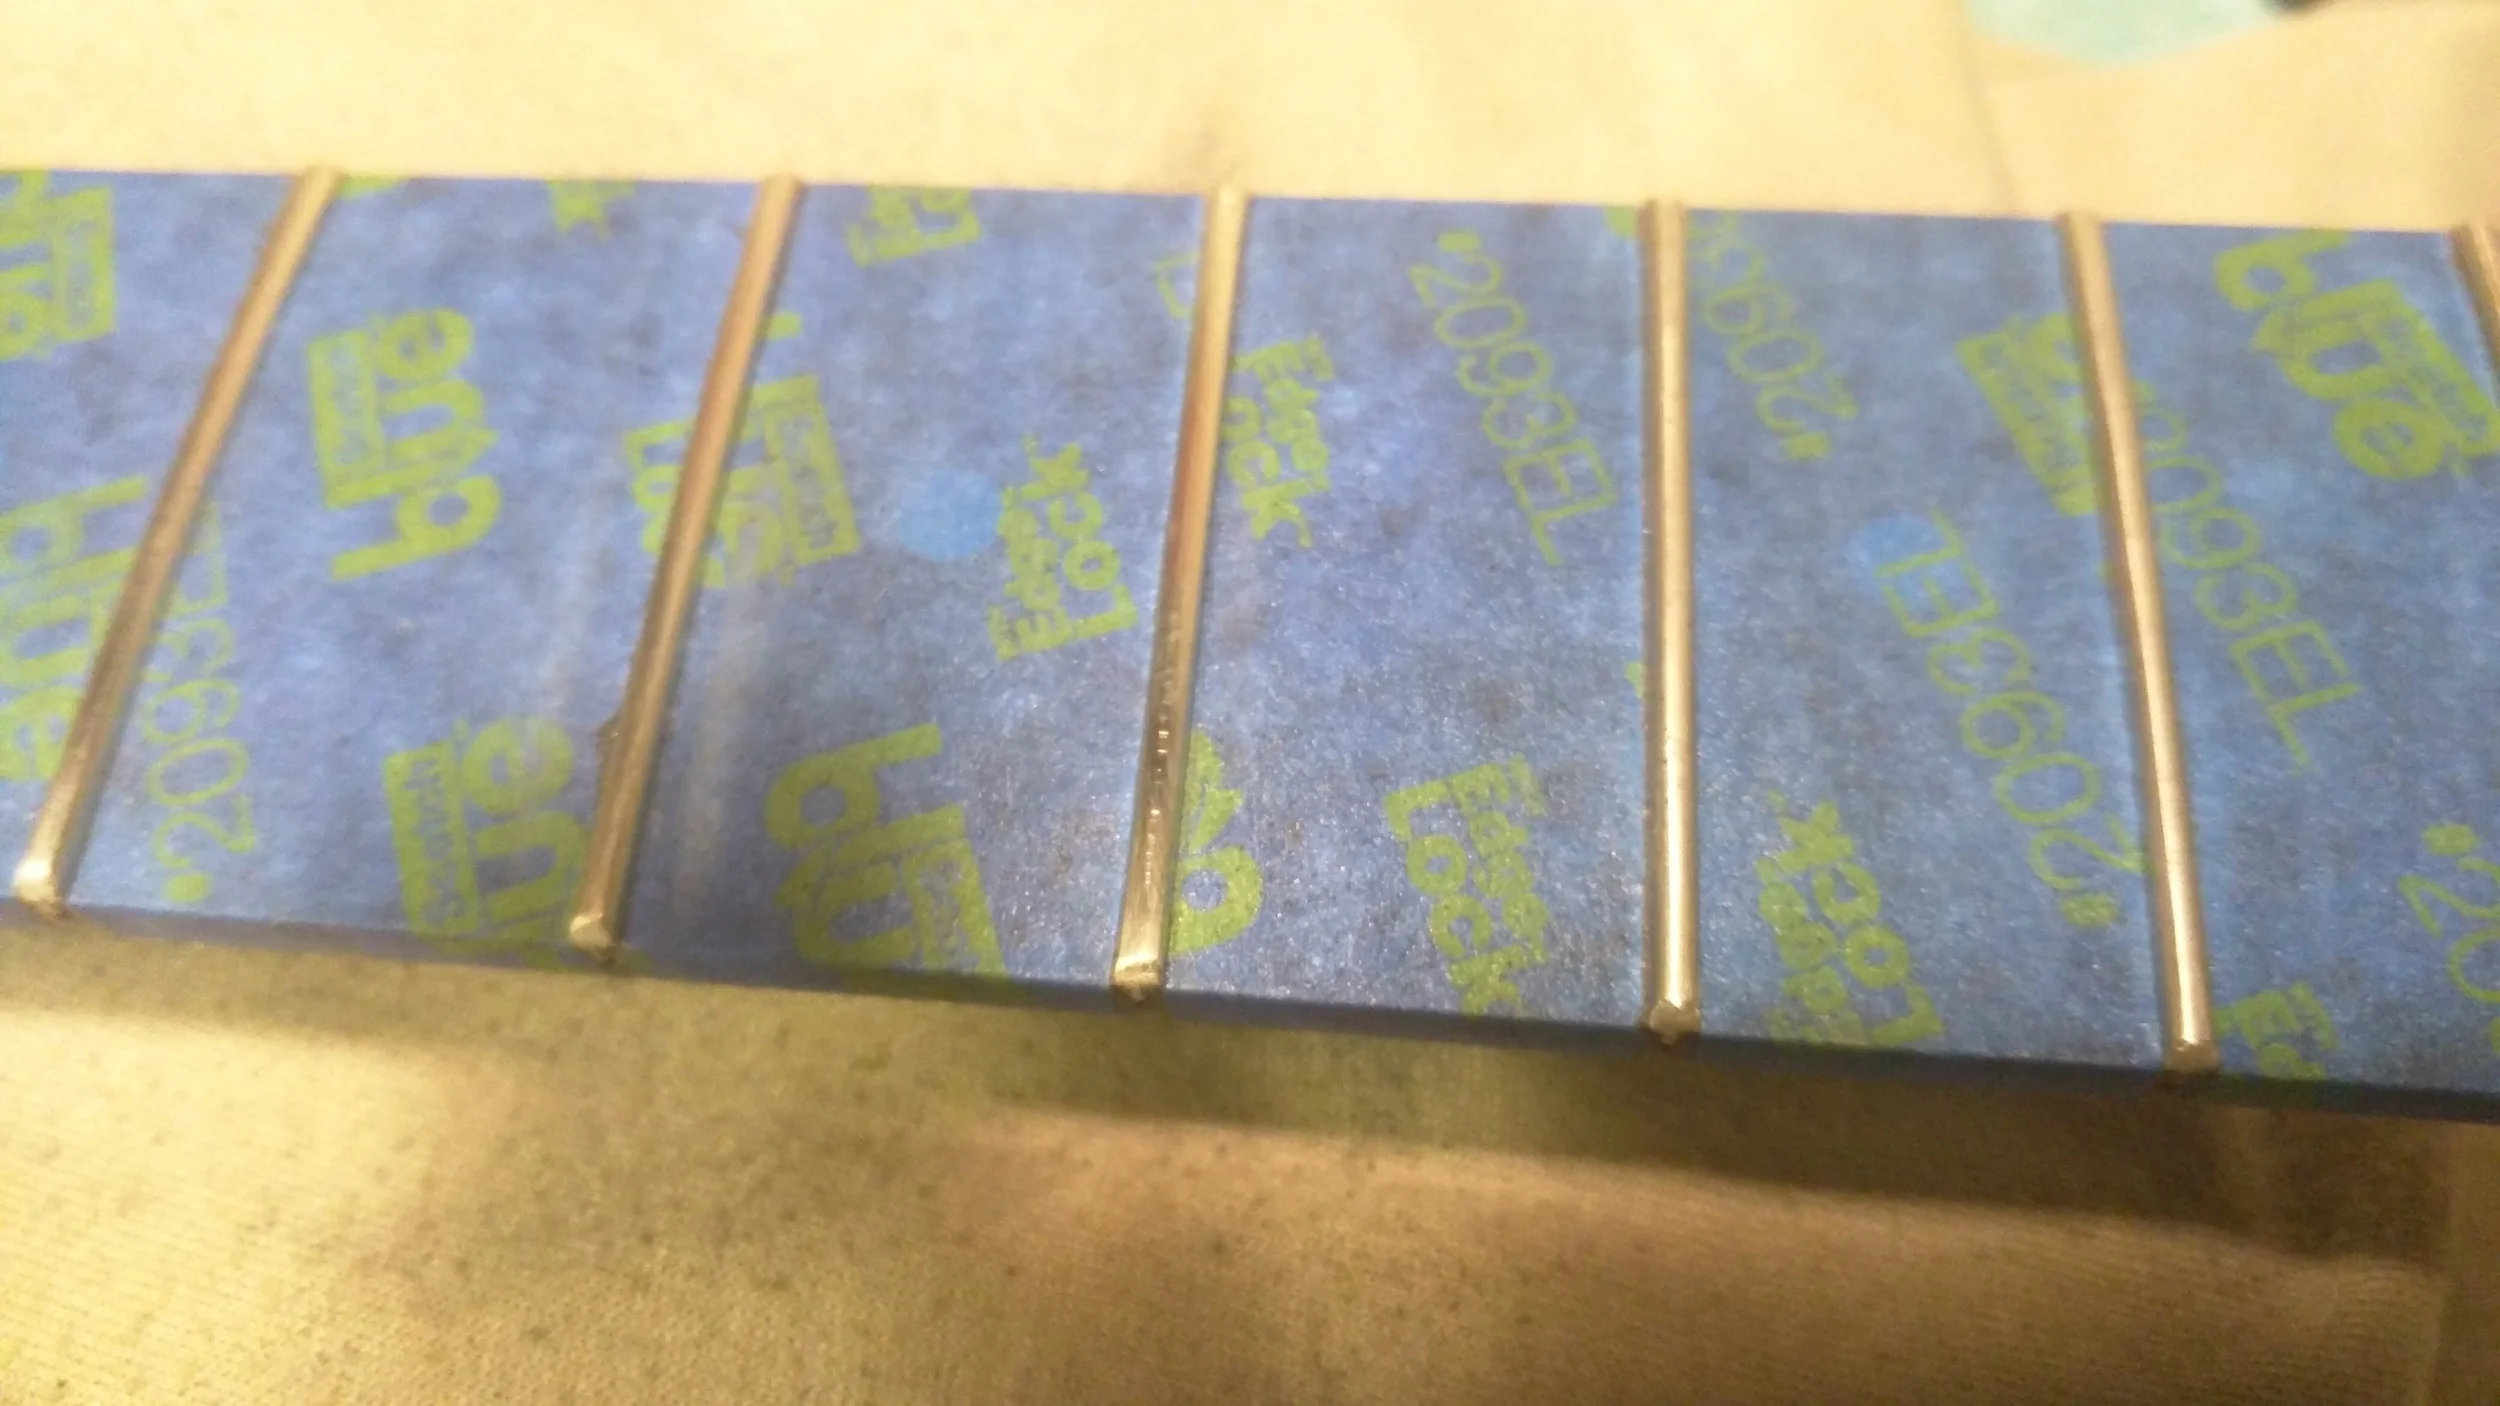
Still don't believe me? Rest assured that neck is straight.
To get level frets, you need a level neck, so double check the fingerboard for straightness. A notched straightedge is invaluable. Tape the fingerboard off to reduce the amount of metal dust you'll have to clean out of the fingerboard grain. After that, sandpaper. I use either 320 or 220 grit depending on how much sanding needs to happen. Make sure the frets keep their radius and make sure to at least touch each fret.
Putting a round shape on the top of the frets is called crowning, and it's a step that may or may not happen depending on who you go to. It's labor intensive, takes a fair bit of skill, and is generally annoying. That said unless expressly banned I crown frets every time I level them because the benefits far outweigh the costs. A round fret gives a single point of contact to the string. When the string vibrates on a flattop, the exact spot the string begins vibrating will shift back and forth a fraction of an inch as it moves through its range of motion. The resulting vibrato is too subtle and rapid to be properly interpreted by our poor brains so instead we just get a slightly fuzzier fix on what pitch we are hearing. There's also increased string buzz. From a ergonomic standpoint a wider contact area between the frets and string increases the force of friction, so crowned frets are much easier to bend on.

Protip: A felt tip marker comes off when files and sandpaper touch it. Something to keep in mind....
The two ways to get a crown are with a profiled file or a straight file. Either way you also need skill. The profiled files are quick and easy, but they are always more expensive, you also have no control of the crown radius and you'll need multiple files to accommodate different fret widths. I'd wager most people who are proficient with straight files prefer them. Irrespective of chosen tool get some practice in before ruining a seated and leveled fret.
Dressing Up
Creating that nice bevel on the edges of frets is one of many fret-edge related tasks I lump into a category called 'dressing.' There are expensive purpose built tools that use diamond files to quickly bevel the frets but I use a flat sanding block and some 220 grit sandpaper to get the job done. In general terms the bevel will be around 30 degrees. A sharp bevel leaves the most usable fret room while a less aggressive angle is gentler on the hands. Obviously exact specs change depending on who the end user is; I personally go with pretty sharp angles because I can. Use a small hand file to blend the crown into the bevel unless you like the feeling of sharpened metal against your skin.
If you've ever had the pleasure of working with metal before, you won't be surprised to learn the nippers used to initially size the frets don't quite make a hand safe cut. The two ways to fix the issue are use a machinist's file to take the rest of the burr off, or alternatively cut the tang short before installing the fret. I tend to go with filing but if the fingerboard has binding I absolutely will cut the tang beforehand to make sure the binding stays put. In all honesty there's probably not a big structural or even tonal risk from a reasonable pre-nipping but I feel it's the mark of a true craftsman to get a perfectly flush, full width tang on frets. If you go the easy route, fill the gap with some wood glue or superglue. If you decide to file, masking tape might help keep the neck safe, but you might find yourself having to remove it to get a close enough shave.
Done? Nope.
The finish on a fret makes all the difference in the world. A mirror finish on a fret not only looks good, but it reduces fret noise during bending and makes for a more comfortable playing experience. More sandpaper! Start around 600 grit and incrementally work up. For reference I stop around 8000 grit. Sand along the length of the neck and make sure you aren't flattening the frets.
Getting ready for polishing. Seriously, do not let abrasive, metal dust-saturated solvents get on the wood.
Time for chemical warfare. Grab a polishing compound, I've always liked Brasso, and polish along the length of the fret. If there's no tape protecting the wood at this point you're doing it wrong.
Now's a good time to clean up. Get the chemicals and tape off the neck and use quality fingerboard cleaner to clean and oil the neck. If you've sanded the fingerboard it'll be thirsty.
With new frets installed, leveled, crowned and polished the last step before the job is done is assembly and setup. Reinstall the neck if it's been removed. Adjust the relief and action to get optimal performance. It might be necessary to shim the nut if taller than stock frets were installed. I won't explain a setup because we're all pros capable of doing our own setup, right? Right??
And we're done! I've been having too much fun playing this guitar to actually talk about it in a timely manor, but now that we've reached the conclusion of this saga I'll be getting back to unraveling the mystery of the mix desk in the next post.